Studio Photography in the Digital Age

Despite all of the selfies circulating and tagged photos you are featured in, studio photography is still useful and effective for professionals looking to showcase their services.

Furthermore, still photography can get you real world sales in many cases. Quality photography can be used on websites to feature your products, bring your personality to life, tell a story, showcase your team and professionalism and even provide something to sell.

When partnering with a photographer, plan to identify which services you will need prior to booking.

Photography Services

  • Aerial photography
  • Action Sports Photography
  • Action Photography
  • Food photography
  • Real Estate Photography
  • Product photography
  • Documentary-style photography
  • Portrait Photography
  • Set design
  • Lighting
  • Photo editing
  • Retouching

Equipment

  • Cameras
  • Lights
  • Backgrounds
  • Product Light Box

What Are The Must-Haves For EMS Content In 2021?

Challenges EMS Sellers Will Face in 2021

Today, sellers and company owners are well aware of the challenges 2020 has thrown their way. With the onset of an unprecedented restructuring of society, Electronic Manufacturing Services (EMS) business owners found themselves in a predicament that required creative solutions to a novel problem. No longer able to sell in person or make face-to-face connections with potential customers, entrepreneurs have taken to the web to carry on the torch of business marketing. Now that virtually everyone is doing this, the game has changed, and simply having an online presence isn’t enough- business owners need to implement thoughtful strategy in their content creation in order to prevail in the online business world.

The Solution Includes These Content Must-Haves in 2021

As CEOs and leaders in EMS sales, most of us are familiar with content creation and social media. However, many of us have only scratched the surface as to what we can truly do on the web! We know about social media, but are we truly maximizing our output on social channels through strategic marketing campaigns? Maybe we are- but then, are we effectively utilizing other virtual outlets, such as Zoom and email marketing? The greater the amount and diversity of channels you employ, the greater the likelihood you will have to reach potential customers. Many business owners will never consider hosting Zoom panels because it hasn’t always held the same relevance that social media has. However, since the beginning of quarantine in March of 2020, Zoom usage shot up to 200 million users from 10 million. The next month, that figure continued on to 300 million, and only climbed from there. The numbers look good for email marketing too, as Mailchimp recorded significant increases in both click rates and open rates for marketing emails since the covid-19 outburst on March 9th, 2020. If there’s anything we can conclude from these figures, it’s that now is the time to engage our online audiences. The best part is that you can reach out to a remote sales team that understands these trends, and uses them to leverage marketing content that engages prospective customers.

Content Must-Haves For EMS Providers

We’ve established a general game plan for creating the content must-haves of 2021. Now it’s important to flesh out the fine details and course of action for your remote sales campaign. Each company is different in size, audience, industry, history, and goals, so coming up with a strategy that is unique to your niche and expert-approved will be imperative to your company’s success. There are many different routes you can go down or choose to focus on primarily. Zoom panels and webinars are perfect for businesses that wish to host events or interact with audiences live, without people having to actually attend in person. If your business falls into a vertical that relies heavily on the personal connections you make with potential clients, webinars and Zoom panel production may be an optimal choice for you. For example, many small EMS local businesses draw in customers through people they meet or by word traveling through the grapevine among communities. Hosting Zoom panels is a way to form a mini virtual community, and to keep that process going, even during the Covid pandemic. If you already have an audience, podcasts are a very effective means of reaching out to them and further solidifying your connection to them. They’re not unlike writing blogs for your company’s web page, except they allow for a greater personal connection through a more vivid portrayal of tone, expression, and character. For these reasons, podcasts are also an exceptional choice for businesses looking to garner an audience. Not to mention, they can be produced with a fair amount of ease, speed, and cost efficiency. There are countless ways as to how these content strategies can benefit sales leaders during quarantine.

EMS Marketing Content Success

There’s a reason marketers say “content is king”. A great deal of success stories have arisen from carefully crafted content. One that sticks out among the rest is General Electric’s Life After podcast, which cleverly designed a science fiction story built around General Electric’s products, and the protagonist’s ability to use them to decode cryptic messages in a mysterious, futuristic world. This ingenious approach to product placement certainly got people talking, and the podcast has currently received 4.4-stars by over 3.1 thousand ratings on Apple Podcasts. That is no small feat! Another success story started with the dream of a college student, and many, many webinars. Devin Duncan ventured into the e-commerce world in 2005, where he began his online apparel business. Since then, he has transitioned to creating educational content for entrepreneurs via webinars, which bring in over $20k per day. That’s some serious cash. No one can deny that one of the best parts of creating podcasts, webinars, and Zoom panels is their ability to produce passive income.

Plan Out Your Content-Must Haves

Now that you know the content must-haves of 2021 and the benefits they will have for your business, you can go forth with confidence in your plan to produce and distribute content to your EMS audience. Podcasts are a golden choice because of their ability to educate and resonate with audiences in a way that is social, emotional, and informative. They provide a chance to connect with potential clients, as well as to demonstrate your skills and knowledge as an expert in your field. If done correctly, they can be inexpensive and impactful. Podcasts, along with social media content, Zoom panels, webinars, and blogs are a great way to boost social engagement online- a factor that is vital for any online businesses. Something needs to replace the way people used to spread ideas via word of mouth in person, and virtual social platforms are a fantastic means to do so. It is so important to create content that promotes social engagement and gets people talking. Implementing an effective publishing schedule, along with distribution methods such as email marketing, will maximize the positive effects of your top notch content.

To get started on your 2021 content strategy, schedule a consultation with experts at Contentz.com today!

Step 1: Set Design, Equipment Setup and Pre-Production at In Person Studio

Thanks for booking studio time! The bottom line is that we provide equipment that you are free to use safely as you see fit. The major requirement is that you put it back like you found it. With that said, the creative process and creative visions are different for everyone. We have included some recommendations in these instructions, but we do not wish to limit your creativity. 

Watch these 5 videos to know what to do when you get to the studio!

Contentz provides remote and flexible in person studio support. The spaces are great for creating quality content on the go. Facilities include audio, video, lighting and flexible set designs that can be customized in minutes to help your brand produce content such as podcasts and video for social media.

Part 1: Set Design – Background and Furniture Design

The set design defines the tone of your production. Contentz studios include one or two background walls that are designed as brick backgrounds. These walls are customized with hanging canvas backdrops that help establish the tone in your production. Black, Green and other options are available. If you want to adjust the background, please follow the instructions below.

How to adjust your background:

  • If you want to change the backgrounds, pull out the step ladder.
  • Remove the clips, starting at the bottom and moving to the top.
    • Adjust the height of the poles on either side of the background if you cannot teach the top with the step ladder.
  • Gently drop the canvas without tearing it.
    • Fold the background in halves repeatedly until it is about 12 inches x 12 inches and place it to the side so it is not damaged. If you are not using all of the chairs, that is a good place to put it.
  • Green screen and black back drop options are already hung behind the brick backgrounds. If you want a green screen or black backgrounds, simply pull down the cover brick backgrounds and you are ready to go.

How to Hang Your Background

  • Choose your background and hang it using 5 clips provided in the studio for each wall. 
  • Three clips will be used on the top bar – one on each side and one in the middle
  • One clip will be used on each side to pull out any wrinkles on the background.
  • Make sure that the top is aligned horizontally and level. If it is not level and centered, shadows can be seen on the background material in your video production.

2 – Seating & Furniture

After the background is selected, decide how you can feature all of your guests.  Contentz studios can easily support 1-4 guests.  Depending on how many guests you plan to feature, you will adjust the furniture and camera accordingly.

How to Adjust the Furniture

  • Backdrop flexibility – the set is designed for two walls or one wall to be set as the focal point for your camera. Choose whether you want to feature one or two walls in your shot.
    • If you want one wall, then plan to position seating centered on the wall design you prefer, which will likely mean either the chairs or the couch, but not likely both.
    • If you want two walls, which will include the corner, where the walls meet, then plan to use two sets of seating, i.e. the chairs and the couch.
  • Guest seating Flexibility: 
    • Standard Setup options for 1-2 guests
      • Sit both guests at the round table or sit one guest at the round table and one guest on the couch.
    • Standard Setup options for 3-4 guests
      • Sit all four guests at round table
      • Sit 2 guests at round table and two on couch
      • Sit 3 guests at round table and one on couch

Again, the information about set design is offered more to suggest ideas, than it is to restrict you from trying different things. Enjoy the process and hopefully these suggestions help save you some time.  The only requirement is that you return the items to the position you found them in.

Step 3: Break Down and File Transfer From In Person Studio

Great! You have captured your fantastic footage with audio and video. Now it is time to take it with you.

Watch these 5 videos to know what to do when you get to the studio!

Your footage is not sent directly to your device as a standard. The footage is written to media cards in the GoPro and in the mixing board. The easiest way to transfer this footage is to connect your device to the GoPro and Mixing Board.

Steps to Transfer footage

Transferring footage is simple, once you understand the process.

Transferring Footage From GoPro

  1. Press stop on the GoPro and Mixing Board. The GoPro will automatically save the file. The mixing board requires you to save with a name.
  2. GoPro (video): connect the USB-C cable to the back of the GoPro. Connect the USB-C cable to your computing device. If you computing device does not have USB-C, then you can attach an adapter to the USB-C cable. That adapter is also located in the filing cabinet.
  3. On your computing device, navigate to the folder where you can see GoPro.
  4. Click into the GoPro folder and DSCM folder.
  5. Select the files you want to transfer and drag them onto your computer’s desktop, or wherever you want (for more experienced users).
  6. Eject the GoPro device by selecting File > Eject on Macs. For PC:Open File Explorer by pressing Windows key + E . On the left, click This PC. On the right, right-click your USB flash drive. Select Eject.
  7. Test the footage on your devices.

Transferring Audio From Mixing Board

  1. Press stop Mixing Board. The mixing board requires you to save with a name. The digital display on the mixing board will walk you through that process.
  2. Connect the USB-C cable to the back of the Mixing Board. Connect the USB-C cable to your computing device. If you computing device does not have USB-C, then you can attach an adapter to the USB-C cable. That adapter is also located in the filing cabinet.
  3. On your computing device, navigate to the folder where you can see Mixing Board.
  4. Click into the Mixing Board folder and you will see .WAV files.
  5. Select the files you want to transfer and drag them onto your computer’s desktop, or wherever you want (for more experienced users).
  6. Eject the Mixing Board device by selecting File > Eject on Macs. For PC:Open File Explorer by pressing Windows key + E . On the left, click This PC. On the right, right-click your USB flash drive. Select Eject.
  7. Test the footage on your device.

Breaking Down and Putting Equipment Away

Please leave the studio equipment as you found it. Return the items to where you took them out.

  1. GoPro, microphones cables and mixing board should be returned to their place in the filing cabinet.
  2. Backgrounds and furniture should be returned to their original positions.
  3. Lighting should be turned off and returned to its original position.

Thanks for your hard work on this production and thanks for using the studio to partner in creation!

Step 2: Setting Up Audio, Video & Lighting for In-Person Studio

Contentz in person studios provide audio and video equipment to help make your media look great. This article outlines how to access the equipment and configure it upon arrival.

Watch these 5 videos to know what to do when you get to the studio!

Setting Up Video

GoPro – There is a GoPro camera located in the filing cabinet. To Set it up, follow the steps below.

  1. Attach the GoPro to tri pod.
  2. Adjust tripod to preferred heigth.
  3. Turn on GoPro and Frame shot.
  4. Click record (top button) to start recording.
  5. Click record (top button) to stop recording.
  6. Swipe up on screen to review footage.
  7. Adjust camera angle after review (ie. if you need changes).
  8. Swipe down to return to record.
  9. Option: swipe left /right for still photography use

Lighting

Contentz provides at least four lights to support your production. There are two box lights and two circular soft lights.

  1. Turn on the lights
  2. Position the two box lights to left and right of focal point.
  3. Position the two soft lights (circular with umbrella) in front of or behind the subject.
  4. Frame the shot with GoPro and take example footage.
  5. Review the footage and adjust as necessary. (Moving lights up and down can help with reflection on TV).

TV – Multi Media Setup

Contentz provides a 50-inch TV to help make productions professional. This enables studio guests to add professionalism to their production by displaying a logo throughout the show or even showing media footage.

Steps to Use TV:

  1. Use the remote to turn on the TV.
  2. Connect your computer to the HDMI cord.
  3. Select HDMI from the menu on the TV.
  4. Select mirroring and allow the computer to connect to the TV. Click here to read an article that explains how to do this.
  5. Navigate around your computer to test this feature. This feature allows you to control the TV during your production.

Pro Tip: White backgrounds on images help improve the display during production.

3 – Setting Up Audio

Contentz provides up to four microphones, a mixing board and two stand options at in person studios. Follow the steps below to configure them for the best results.

Configuring Microphones, Stands and the Mixing Board

  • Decide how many microphones you need for your production. There should be one for each guest.
  • Pull out the microphones from the filing cabinet or on table.
  • Connect the XLR cable to each microphone.
  • Connect the XLR cable to the mixing board.
  • Decide which microphone stands are best for your production. You can select the sitting stands, which require placement on the table, or you can select the boom stands, which stand alone next to guests. These are better for guests that are sitting on the couch during the production.
  • Position the microphones where you want them.
  • Move the filing cabinet and mixing board so it is able to reach the guests’ area with cable to microphones comfortably.
  • Turn on the mixing board by pressing the circular button in back.
  • Test the microphone input by recording an example.
    • Select record.
    • Adjust the microphone input so it is around half way on mixing board. Push up to where you hear feedback. Drop to where it is just silent.
    • Select stop and save when prompted.
    • Tap ellipses on upper left of mixing board screen. Tap playback and you can listen to your sample. If it sounds good, you are ready. If not, adjust input level until you like it.

Start Recording

Start recording after you are comfortable with the lighting, and audio levels. The recordings are sent to sound cards in the devices. You will transfer the files from the sound cards to your devices when you are finished recording.

How to Create Killer Explainer Videos

Explainer videos are the best marketing tools on the planet. Consider these statistics:

  • Video leads to > 200% click through rate in email
  • Video improves landing page conversion by 80%
  • 50% of executives look for more information after viewing a video

Do you have video on your pages? Do you want more?

Consumers and buyers love them. Giant technology companies like Google and Apple use them constantly to explain their complex products and how they fit in the market – how real people use them. Local businesses use them to establish branding identity and to tell stories. Comedians even use them to illustrate the absurdity of life.

Explainer videos help sales people seem more creative. They help bosses relate to workers, and they can help you too!

Explainer videos accomplish three things.

  1. Establish credibility – videos look professional and convey the perception that they are difficult to create. When your audience sees a video that you have created, they assume that there was a massive budget behind the video. Most working folks don’t know the true cost to produce a video. And, they definitely don’t know the process of how to create a video.
  2. Communicate complex messages with consistency – sometimes you just can’t remember what you said in the last meeting, or the first email or the second call. The video never lies!
  3. Save time – sending somebody a one line email and a dropbox link to an awesome video takes way less time than a meeting or fumbling through a verbal exchange on the phone.

Cost & Timeline

The best thing about explainer videos is that they can be created quickly at a reasonable cost. You can get a solid explainer video done in one day for anywhere between $10 and $1,000.

How to produce explainer videos

There are two ways to create explainer videos for marketers large and small. You can do it yourself, likely with an online tool, or you can hire somebody to do it for you.

Both techniques range in difficulty and scope. You can spend massive amounts of time and money in either production mode. Style is a big consideration. Do you want a grass roots video that just gets the point across, or do you want a video that conveys a premium production value?

5 Do It Your Self Video Techniques

  1. Screen cast
  2. Screen cast with talking head
  3. Talking head with background
  4. Talking Head Stand Alone
  5. Animation

3 Hired Help Video Techniques

  1. Fiverr
  2. UpWork
  3. Agency

The irony in hired help video techniques is that you will still do a lot of the work to prepare the content, even if you hire the video out.

How to Know What to Say

You will need to know what to say, if you want your explainer video to work well. This is a common thread in marketing messages. Any idiot can produce a video but a real genius will know what to say. Brands that know what to say get customers, while idiots do not.

Explainer Video Development Process

  • Identify objective – what is your video about?
  • Write script – 100 words = 1 minute. Just start writing. Record it on your smart phone and listen to the script. Does it suck?
  • Source Art – use a service like iStock or
  • Convert to presentation
  • Record sample voiceover
  • Start production

Identify Objective

What is your video about? Write it down. This is the objective of your video.

  • business
  • product
  • technique
  • behavior
  • result

How to Use Explainer Videos

  • Email
  • Social Media
  • Sales Process
  • Training

Every Door Direct Mail (EDDM)

Do you like walking door to door, greeting neighbors with no introduction?

If you do, then go do it. You will be wildly successful, if not injured in the process.

There is no substitute for face to face interactions. Most people don’t like it though. Why? Because it is intrusive.

With that said, as if reading our collective minds, the USPS has graciously created a kick-butt product that actually solves the problem of walking door to door as the only method to meet new clients.

Every door direct mail (better known as EDDM) is offered to send print pieces on behalf of marketers. The USPS does not require you to provide an address list. You just need to pay. Sound good?

The challenge here is cost versus potency. It is expensive to get your brand mailed directly to a consumer household. So you don’t want to blow it.

Let’s define blowing it. Blowing it means that you spend $0.15-0.40 per household, and all of the time it takes to develop a pretty collateral piece. You write it. You draw it. You have a designer do it. You throw out their design and re-do it yourself in google docs. Then, you send it to the printer. Then the printer re-designs it. (cmon – we all know how this goes). Then, you haul it down to USPS and sit through two days of basic loserdom, lost in procedure, finally to get the package bundled and delivered. But none of that is

blowing it – no! Blowing it is going through all of that and then reaching the consumer. And, the consumer literally throws it away before walking in the front door after retrieving their mail three days after it was delivered.

So, to not blow it, we have to prevent the throw away.

How to prevent advertising pieces from being tossed in the garbage

There is a very basic framework to successfully not get something thrown away.

  1. Don’t send consumers garbage
  2. Don’t send consumers something that looks like garbage

What is garbage?

  1. Garbage is something without value. ie.
  2. a picture of yourself,
  3. your contact information,
  4. your company’s logo,
  5. high quality paper stock,
  6. something that benefits your and not them.

Do you follow?

What is not garbage?

  1. Valuable information.
  2. Something that brightens their day.
  3. Something nostalgic
  4. Something Free, but not cheap
  5. Something they want

5 Non-Garbage Ideas to EDDM

  1. Information about local schools
  2. Information about local sports
  3. Information about places that support kids
  4. Information about how to make more money with less work
  5. Information about the good life
  6. Information about your neighbor’s wife (just kidding)

We Post & Promote Your Messages

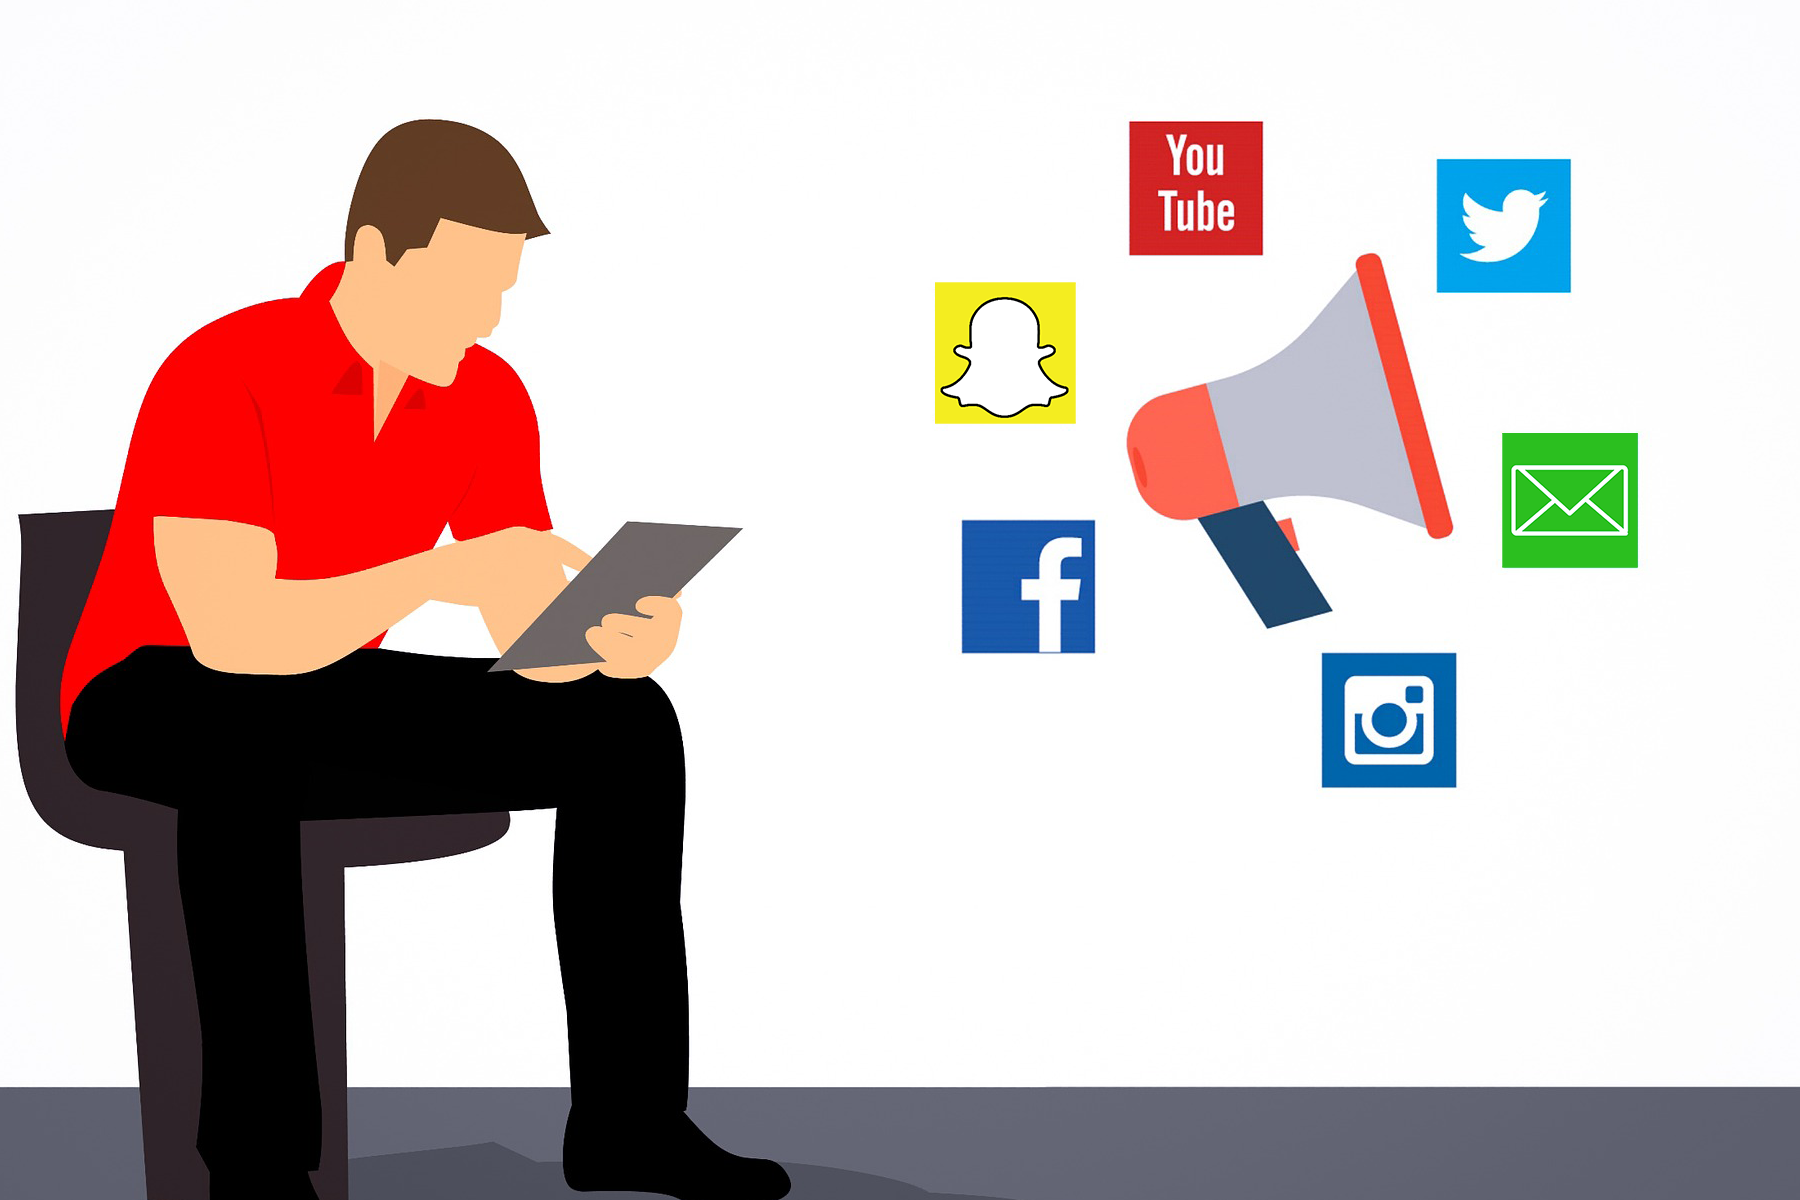
Do you see the kid pushing? That is us pushing your message onto the correct social media platform at the correct time.

Social media is where your customers go for entertainment every day. Each social media outlet has its own specialty and subset of users.

YouTube is fantastic for long form media. If you have a complicated, and detailed message to deliver, YouTube viewers are there to consume it all. You can successfully explain every detail of your product, without alienating yourself from YouTube users. This is useful for explaining processes and delivering customer testimonials as well.

Instagram is suited for image highlights. Capture your brand with an image that represents a message. Or, use it to share a special achievement about your business. Instagram is not suited for oversharing, or multiple posts in a day. Instagram recently launched a stories feature, but it is generally used by older users.

Snapchat is the primary place to reach a younger audience. Snapchat’s stories format is extremely popular among the teen audience. Fun photo filters also set the product apart. It is not suited for long brand messages. Use Snapchat to reveal consecutive actions around your brand, or use it to reveal details of your personal life. Behind the scenes footage is great!

Twitter is just like it feels. Loud and to the point. Feel free to post often. With the short format, you will not offend users by posting too much. Twitter is also a great place to test before posting to other mediums.

Facebook is a hybrid of the other formats, where you should be methodical about the content you post. Facebook ads make Facebook one of the best places to acquire new audience and promote posts because you can control viewership with ad spend.

E-mail marketing is perhaps the most potent medium to perform business transactions. It is the lifeblood of your organization. If a customer wants to purchase, they typically have committed to your email list already and trust that you offer value.